
Bipasha Bose
Program Manager, Material Property Assessment, McMaster Manufacturing Research Institute
The MPAL develops leading solutions for diverse fields to optimize the performance of materials in many applications.
There’s a common saying “use the right tools for the job.” Do you ever hear use the right materials? Whenever we’re developing new products or performing failure analysis we need to understand the suitability of a chosen material and assess how it behaves under various conditions.
MPAL specializes in assessing these properties and behaviours by working very closely with industry and academia to select application-specific standard solutions to assessing materials. We also develop brand-new testing methods where established standards fall short of our partner’s needs.
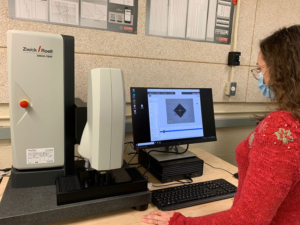
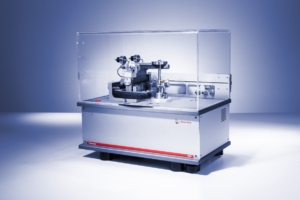
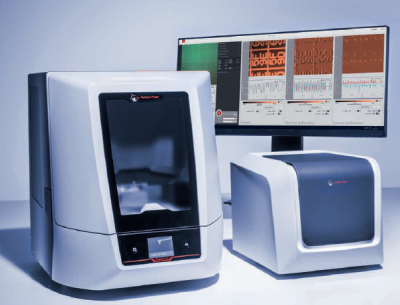
The fully calibrated and CSA approved DuraScan 50 (G5 series) hardness tester can be used to test the hardness of metals and plastic material according to the following methods:
▪ Vickers ISO 6507, ASTM E384, ASTM E92
▪ Knoop ISO 4545, ASTM E384, ASTM E92
▪ Brinell ISO 6506, ASTM E10
Standards-compliant conversion options are available on the machine that can convert the Vickers hardness values to Brinell hardness, Rockwell hardness, Superficial hardness, Knoop hardness, Scleroscope hardness, and Leeb hardness for various materials. The conversion tables are applied based on following standards: DIN EN 50150, ASTM E140, DIN EN ISO 18265. The Vickers load range that can be used ranges from 0.01-62.5 kg (0.098-612.9 N).
In addition to single point measurements, the equipment allows for series, case hardness depth (ISO 2639), nitriding hardness depth (DIN 50190-3) and surface hardness (edge hardness) depth measurements (DIN EN 10328).
Software module includes additional tools for area-based tests on a specimen. Including mapping functions (diagram shows the hardness spreading on the tested area) and automated scanning of the edges of the specimen.
The Fracture Software module allows for determination of the fracture toughness of carbides and ceramic metals according to Palmqvist ISO 28079 and Nihara ISO14627
The test cycle from setting the indent through to displaying the hardness value is always performed fully automatically, thereby eliminating operator effects to the greatest possible extent.
For more information, please contact Dr. Bipasha Bose at boseb@mcmaster.ca.
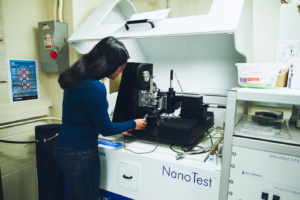
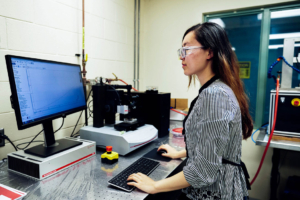
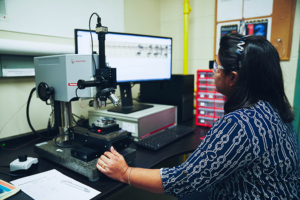
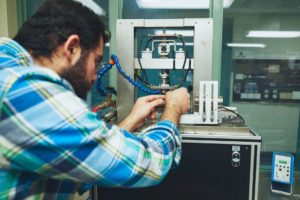
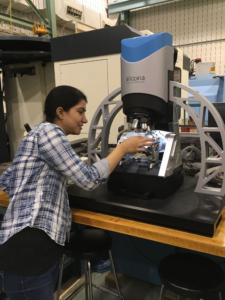
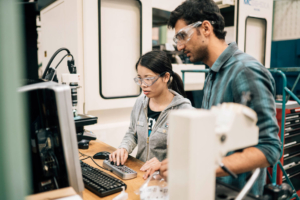
MPAL has the capability to completely characterize a wide range of coatings to aid new coating development as well as existing coating modification and quality control activities tailored to specific applications.
MMRI is equipped with a Hybrid R&D PVD coating machine that can deposit a wide range of coatings using two arcs and a sputtering deposition source. Thin metallic or ceramic coatings are known to improve the superficial properties of a variety of materials, such as metals, ceramics, composites and polymers. Coatings are commonly applied to increase life and improve performance of tools and components used in many industries.
Our team specializes in development of custom coatings, as well as providing coating recommendations based on application. Services provided by the coating development team are as follows:
Department of Mechanical Engineering (MMRI)
McMaster Innovation Park
230 Longwood Road South
Hamilton, ON Canada L8P A06
“Longan Vision has been working with the MMRI for nearly 3 years developing a one-of-a-kind augmented reality coating. The coating is designed for extreme temperatures and environments for first responders. Without the researchers at MMRI and the funding available through the SONAMI program Longan Vision would not have succeeded in this development. The coating developed is used in the production of Longan Vision’s flagship product called the Fusion Vision System, a head mounted augmented reality device for firefighters. The Fusion Vision System provides firefighters the ability to see through smoke, navigate in dark and dimly lit places and to locate victims more effectively. Without this coating the Fusion Vision System could not be taken into a fire scenario at all. Overall, working with the MMRI has been easy, effective and has supported the continued growth of Longan Vision.”
Alex Shortt
CTO, Longan Vision
